Building Independence in the Art Area


Building independence and a sense of responsibility in young children is an important job for a teacher or for anyone with young children in their life.  When children are given little jobs or tasks to complete, it builds their confidence, competence, and self-esteem.  (A side bonus is that it generally makes life easier for the adults around them, too!)

My classroom was always busy with art activities.  Children needed to be closely supervised with certain tools, and large easel paintings had to be hung by an adult.  That busyness necessitates children helping out in lots of ways, so that the classroom can run smoothly, and so everyone can feel like an important part of their little classroom community.

I used two drying racks in my classroom.  One was for easel paintings to hang from (this was a teacher job), and one was for smaller works involving paint or glue.  It's at this drying rack that the children really helped out--they placed their own work on the shelf, carefully placing it so it wasn't on top of another item.


This is such a simple task for an adult, and at first having the children do it themselves probably makes things a bit more difficult for everyone.  They need to balance their bodies as they bend or reach to fit their paper in an empty spot; they need to keep the paper face up and relatively flat so collage materials don't fall off and paint or glue doesn't drip; sometimes they need to use one hand to pull a shelf out to get their work put away.  All of those aspects and the challenge they present for the kids are what make the job so valuable.  The children feel so accomplished when they master this skill!  They feel helpful, confident, and an important part of the classroom.  And the teachers are able to monitor all the other activity going on in the classroom with one less thing to worry about.  Win-win!

Do you encourage independence in this or similar ways?  Are you tempted to just do things for the children to make things faster?  I'd love to hear your ideas--leave a comment!

Want more preschool-related stuff?


Starting off Small

At the beginning of the school year, it's so important to start off by building strong relationships with each child. During those first couple of weeks we make an even more concerted effort than usual to spend as much quality time as we can with each child. That might be reading a story with them, joining them as they build with blocks or do a puzzle, helping them say hi to a new friend, or any of the other million and one things that are new and sometimes intimidating to a first time preschooler.

Although I'm often tempted to jump right in with providing super fun and messy art activities, those tend to require quite a bit of teacher involvement and supervision, especially since many of the children have rarely even held a paint brush! Staying stationed in one spot for most of the morning means that those important relationship building and one-on-one teacher-child interactions aren't happening with many of the children at this important stage in the game. The kids are just learning how to navigate this big new space and all the new people and things it contains, so they really need us to be with them every step of the way.

But I still want to provide something in the art area! I want them to know there will be fun activities awaiting them every day in that wonderful area. So I start off small:


A contac paper collage, with large scraps of construction paper needs little to no supervision.  It's a nice little sensory experience, and can be switched up easily simply by providing different kinds of scraps.


A tray full of large stickers (I got mine at Discount School Supply) and small pieces of paper is simple and fun, with that bonus of fine motor development thrown in there.


Tape a huge piece of paper to a table with cans of crayons and pre-cut pieces of colored tape.  So simple. So fun!


Various types of crayons spice things up a little :)


I always start off the year with my youngest kids with only one color of paint at the easel.  Looks a little boring to us, but it's new and exciting for most of the kids.  They'll quickly work their way up to being able to handle more!


How about you?  How do you start off your school year in the art area?  Have any simple activities the kids can do all by themselves?  Share down below!


Bubble Wrap Painting

I. Love. Bubble. Wrap.  It started when I was a kid, and my parents would let me pop the bubbles when a package arrived in the mail.  There is something so satisfying about that activity--and I've brought bubble wrap into my classroom for the kids to pop lots of times.  We've pinched it, poked it, stomped on it, and spread out long strips on the playground to run on (SO fun!) 

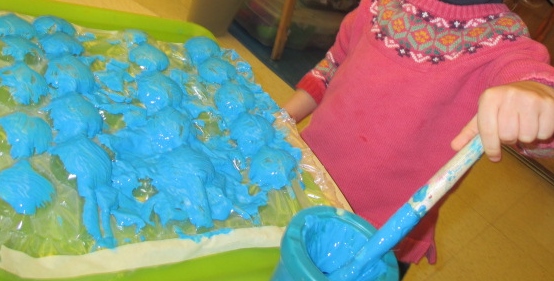
But painting on bubble wrap is a whole different cookie :)  There's no popping involved, but the process is equally satisfying in a completely different way.  There's something so...cool?  fun?  sensory?...about rubbing a paint brush over those bumpy sheets of bubbles!  Thick brushes, thin brushes, small bubbles or big--it's all just great fun!  


Painting on the bubble wrap can be the beginning, middle and end of this activity--or you can make prints too!  Just show the kids how to place a piece of paper on top of their painted bubbles, rub it lightly, and peel it off.  Bubbles!  Yay!


Have you painted on bubble wrap with your children?  Do they love it?  Do they just want to pop those bubbles? I'd love to know your ideas--leave a comment!


Painting with Tiny Tools

What is it about tiny things that is so appealing to kids (and me!)?  All those coins, acorns and rocks that end up in their pockets are definitely proof of this obsession.  So let's go with their interests! 

Painting with tiny tools builds strength in the fingers--children have to grasp these little items and try to keep a hold of them as they dip them into paint, and then concentrate as they make various marks on the paper.  Challenge them to try lines, squiggles and dots!  Watch as they come up with ideas you hadn't even thought of!


I like to use tiny (or at least small) trays, papers, and paint holders when I'm setting up this activity.  I've gone much smaller than the paper you see pictured above.  Sometimes a little loop of tape to hold down the paper is helpful.  Try small papers in different shapes to mix things up even more.  Painting on pennant and triangles can be particularly challenging (and fun!) with this activity.

Need ideas of tiny tools to use?  A short list might include:
cotton swabs
corks
marker lids
film canisters
makeup sponges
small blocks
mini shampoo bottles
golf tees

What are your favorite small things to paint with ?  Have you done this in your classroom?  I'd love to hear your ideas in the comments below!

Want more fun tidbits?
Click below!


Open Ended Play Dough Tools

The play dough table is often one of the most-used spaces in the classroom.  I switch up the color and smell of the dough every couple of weeks.  Depending on how much use it's getting it can sometimes last a bit longer, but usually it's getting a bit crumbly by day 10.

There are SO many things you can do with play dough.  If you have nothing to add to it, kids love pinching, pulling and poking the dough.  Rolling and stacking and smooshing are also popular!  Over the years I collected as many gadgets and gizmos as I could find.  I avoided cookie cutters as much as possible since they aren't exactly open-ended, though I found simple shapes like stars and circles could really add to the imaginative side of playing with dough.


(A tray that encourages the children to sort items by type as they put things away is a great way to sneak math into your day!)

 Hardware stores are your best friend when it comes to play dough tools!  That's a caster cup pictured above, and it pokes a million tiny holes into the dough.  Peeling it off is so fun, and if dough gets stuck in between those pokey parts, oh the joy of digging it out!

 Simple little cups with snap on lids (I found mine at the dollar store) are so fun for the kids to fill with tiny pieces they've cut or pinched off a big lump.  They love to stack them, fill them, take the lids on and off...

 Mini PVC pipes!  YES!!!


I always liked to have something to cut with at the play dough table, whether it was plastic scissors or knives.  These (Discount School Supply, of course) plastic scissors are great because you don't have to have a teacher hovering at the table--these can go out even at the start of the school year with 2 or 3 year olds.

What do you like to put at your play dough table?  Have you thought about the open-ended qualities of your tools?  Do you have  a favorite scent or color of dough?  Leave your comments below!

Want more fun tidbits for teachers, librarians, parents, nannies and more?  

Water Table Alphabet Soup!

The water table is an amazing space in a preschool classroom.  Once everyone has learned not to pour the water on the floor.  Or drink the water.  Or splash their friends in the face.  But yes, once that has all been figured out it is a wonderful place to play and learn!  Many skills are enhanced as children play here.  Depending on the materials and tools you add to the table, the possibilities are pretty much endless...

I've found over the years that most children are interested in pretending to cook and eat.  The Dramatic Play area of my room was fully stocked with play dishes, toy food, and empty food containers.  But carrying that theme into the water table is a super fun variation!


The addition of alphabet letters adds a touch of early literacy to this activity.  Letter naming and recognition for one!  The kids might be interested in finding the letters in their name--if they're ready and interested, challenge them to find the first letter of the name of each family member!  Math can happen, too, as you count letters with them, ask them to find all the red or blue letters, categorize by curved or straight line letters...

To create an Alphabet Soup water table, all you need are the following:

Plastic alphabet letters
Bowls
Spoons
Mini ladles if you can find them!
Empty spice containers
Cheap white shoelaces, cut into 10" or smaller pieces

Fill your table with water, sprinkle in ingredients, and watch the creative play in front of your very eyes!

Want more fun tidbits for teachers, parents, or anyone that loves small kids?


What's your favorite thing to put in the water table?  Have you tried this recipe?  Post in the comments below!

Art: Colored Salt and Glue!

   
Ah, I loved the art area of my classroom!  I loved seeing the ways the kids would use the various materials that we provided.  It was always fun to come up with new ways to present the same materials, such as this colored salt activity.
   

Yep, it's salt.  Although you could use colored sand just as easily.  To make colored salt you simply mix powdered tempera (I always bought my art materials at Discount School Supply) with salt until you have a consistency you want. You don't want the powder to be 'poofy'--that dustiness isn't good for little eyes.

Now you have a couple of ways to use it!

Pour that mixture into a little salt shaker (you can find them at the dollar store).  Now, you need to cover 90% of the holes with masking tape, otherwise it all just flows right out in a big pile--which means you're done in two seconds.  No fun for anyone!  Pour a little glue into another container, and add your spreading tool of choice :)  Many kids will just pick up the glue spreader and get drizzling, and then pick up the salt shaker and get shaking--but if they don't you can suggest ways to use the tools.  I use a deepish tray for this one, because the salt does scatter a bit.  It's tricky for them to aim correctly (yay!  eye-hand coordination!), but you can be sure they will take as much time as they need to (obsessively) cover every drop of glue...

The second way is to pour some colored sand into a wee bowl, and some glue into another.  Now you need tiny spoons!  I use a 1/4 tsp or smaller--this extends the length of the project, encouraging the kids to keep at it (and not have immediate gratification). Taping the bowl of sand down with a loop of tape underneath is a great idea here, otherwise they might just dump in out!

Do you have a different way to do this art project?  Have you tried one of the methods above?  Share below in the comments!

For more fun tidbits and ideas for teachers, parents, nannies and more...


Sensory Tables!

Sensory tables used to be something found only in a preschool classroom, but lots of people have them at home now, too.  I LOVE sensory tables, and if you don't have one I recommend them highly.  You can buy an inexpensive under the bed storage container, attach it to a table temporarily using loops of duct tape, or just set it on the floor on top of a bed sheet or shower curtain (to catch the spills and dribbles :) Here are some of the benefits of playing in one:
  • As they share space and take turns with materials, children are learning to play cooperatively with others.  
  • As they explore lentils, cornmeal, dirt, rice, pasta, and water, they can observe those materials to see how they compare and contrast.
  • Problem-solving skills are developed as the children try to fit lids on containers they have over-filled, or as they try to keep a collection of items from floating away in the table of water.
  • Their fine motor skills grow as they use tongs to scoop up shredded cellophane, or use tiny spoons to scoop cornmeal into small film canisters.  
  • Eye-hand coordination grows as they pour water into a tube…  The skills are as endless as the fun!

You can make the experience even more valuable by interacting with the kids as they play in these tables.  Ask them how many scoops it takes to fill a certain container, or ask them to pass you the biggest spoon, or the smallest cup—in these way you can enhance their thinking skills, their math skills, and their language skills all at once!

Need ideas for your sensory table?  I've collected about a million right here.  Want stuff more toddler-focused?  Check these ideas out.


Hedgehog and Friends

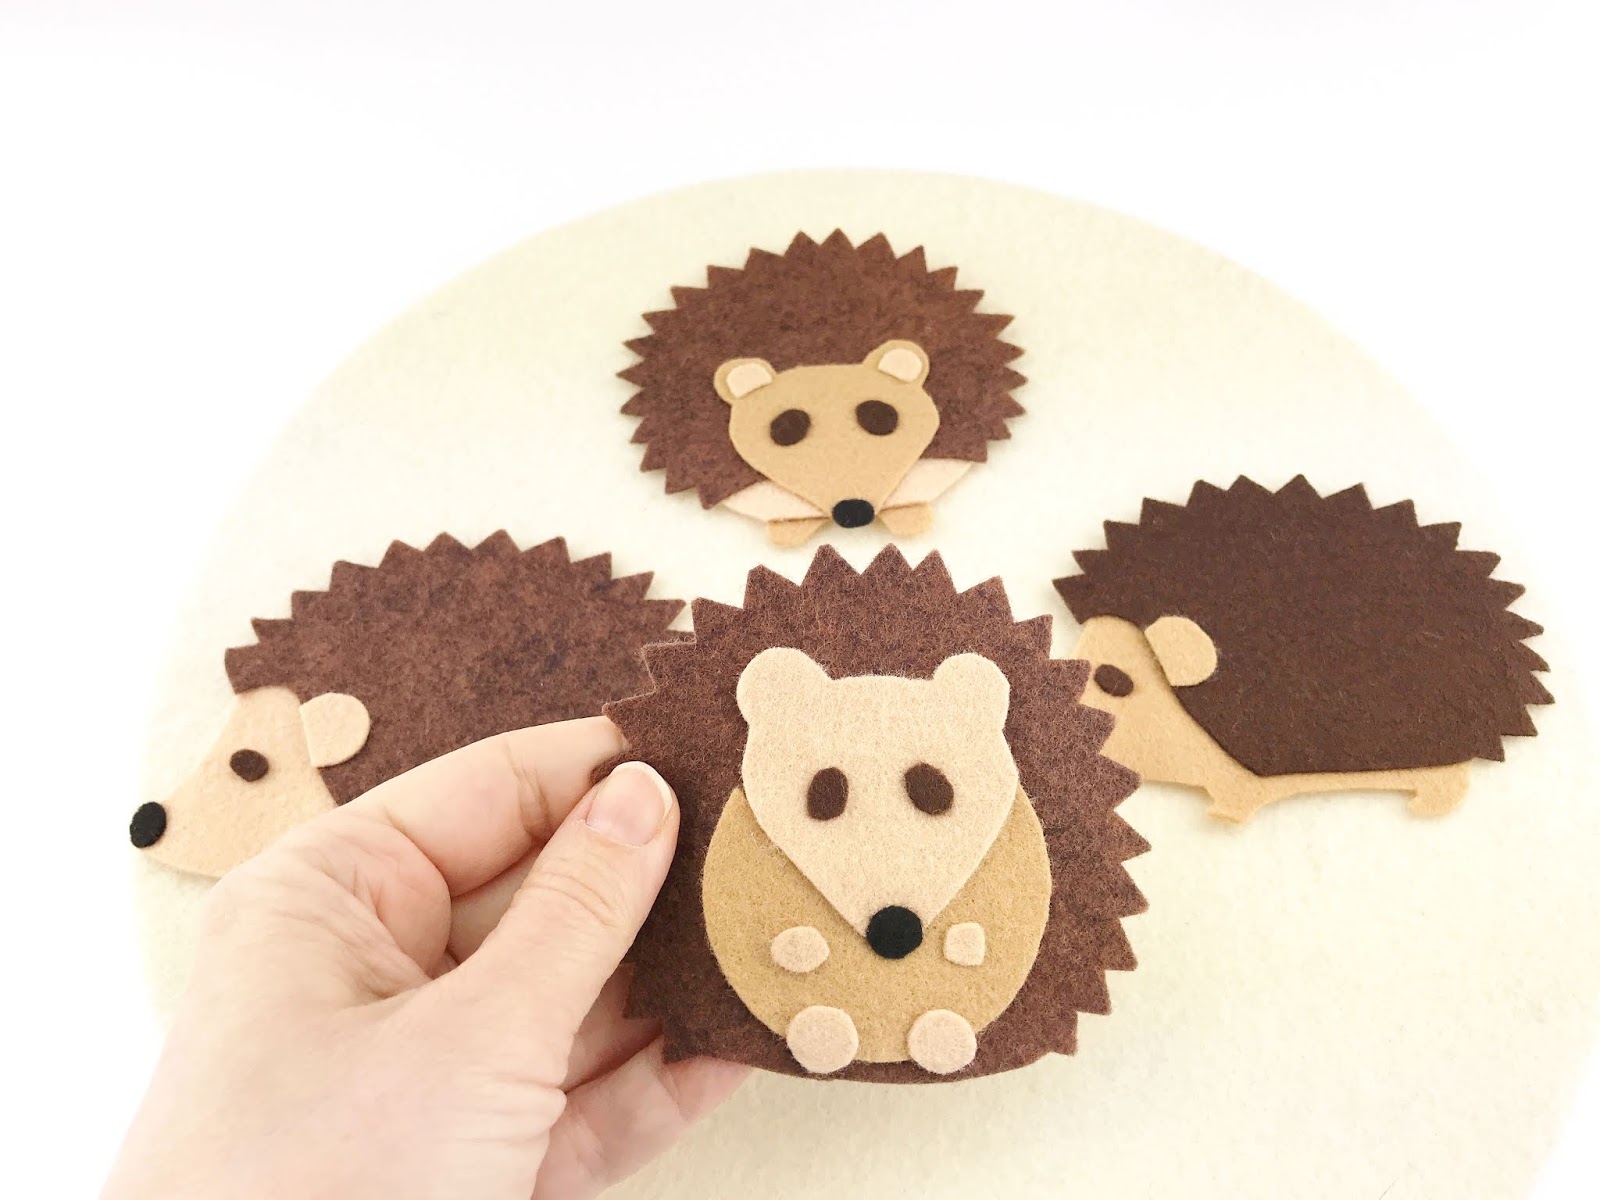
Another awesome custom order produced this set!  It's a combination of my Quilts Galore set and one of the hedgies from my Four Little Hedgehogs set, combined with 5 apples and a tree.  The intent is to use it with this story, and then there are probably quite a few others it could be used with as well--anything with apples/trees/animal friends...  Counting!  Hide and seek!  So many ways to use flannel board sets--I just love them :) 


(Below are the original sets!)


Want more tips and ideas for preschoolers?  


Want millions of flannel board ideas?


Scissors & Envelopes!

You might have seen my recent post on the open ended art philosophy in my classroom, which mentioned the 'open art table' I had set up in my classroom.  Scissors are always a popular tool at that table:


Before we leave (safe, blunt tipped, children's) scissors out for everyone to just grab willy nilly, we go through a process of introducing the scissors to the children.  We use a combination of small group activities (showing the children where art tools are stored, talking about safety rules, and practicing with the materials) and adult-monitored cutting activities at our smaller art table.  Once we feel that the kids are competent and capable and understand how to be safe with them, we put the scissors out in a small container on the shelf of our Open Art table.  And then they are free to explore!  

Our shelves are stocked with construction paper, scraps and half used notebooks we've collected from families, and paper remnants from past activities.  We also put out a request at the start of each year for the parents to collect their unused junk mail envelopes, and envelopes included with bills that they now pay online.  We get TONS of envelopes, and the kids love using them to store all the scraps they have snipped on any given day.  

So, this might look a lot like junk, or a big mess, or a waste of time to some people (not me!)  But look at all the skills these tools provide:  fine motor, self-confidence, independence, creativity... too many to count!

Do you have a similar set up in your classroom or at home?  Do scissors and kids not mix in your opinion?  I'd love to hear your thoughts!  Leave a comment below!

For more tidbits for teachers, parents, and anyone who loves small kids, 
sign up below for my newsletter!